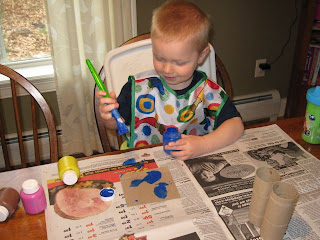
-2 Toilet Paper Rolls
-Light-weight Cardboard - I used a cereal box
-Paint and Paintbrush
-Glue
-Scissors
-Hole Punch
-Yarn or String
-Stapler (not pictured)
-Anything else you want to use to decorate your binoculars (stickers, foamies, etc) - I used some round foam knobs to represent the 'dials' on a pair of binoculars.
Pre-Project Prep:
1. Gather all supplies and lay out newspaper over the table.
2. Cut a piece of the light-weight cardboard to the approximate length of the toilet paper roll by the width of the two rolls placed together.
 The piece of light-weight cardboard will later be glued to the top of the 2 toilet paper rolls like this:
 3. Punch a hole on one side of each toilet paper roll - about 1/4 inch from the top.
 Now you're ready to start!
 The piece of light-weight cardboard will later be glued to the top of the 2 toilet paper rolls like this:
 3. Punch a hole on one side of each toilet paper roll - about 1/4 inch from the top.
 Now you're ready to start!
1. Let the child choose what color they want to paint their binoculars. I made them choose 1 color, but you could use multiple colors if you wish. Then have them paint the two toilet paper rolls and the piece of light-weight cardboard.

 2. Let the painted pieces dry. My kids weren't too patient about this step, so we didn't really let them dry completely. But, I would recommend letting them dry for better results.
3. Place the two toilet paper rolls together so that the holes you punched in them are at the same end and are facing outwards. Staple the 2 toilet paper rolls together. I did one staple on each end.
 4. Tie one end of string through the punched holes on each side of the binoculars. NOTE: Do not include the string if you cannot supervise your child while using their binoculars. Strangulation could occur.
 5. Have the child put glue on the back side of the light-weight cardboard. Use a paintbrush to spread the glue around. Put extra glue along the edges.
 6. Glue the light-weight cardboard to the top of the toilet paper rolls. You will need to hold the edges down for a minute or so and then let them dry. Again...my children were not all about the drying process.


Sorry about the directions not being up there! Love the photos so glad they enjoyed this project!!!!!!
ReplyDelete