I've got lots to report this week! It's been a productive crafting week! YAY!
First of all (and also most importantly), I got my secret sewing project done!!! I'm so happy with how it came out. I really can't believe I pulled it off...with time to spare! And I can't wait to share it all with you...just a couple more weeks!
Secondly, I wanted to give you an update on the pop sleeves. I've made 9 more since I first posted the tutorial over a week ago. Shelly - 5 of these are for you! :)
 And I finally got some more freeze-pops so I could post some pics of them in action! Here is the sleeve on a freeze pop. It can slide up and down for proper hand protection as the child eats the entire pop.
 And I'll have you know that I ate this freeze-pop on a chilly night just so I could demonstrate this little feature:
 If you have a child like both of mine, once they eat a little bit of it, they don't know how to push the ice up and keep it up. It keeps sliding down on them. That's where the little tab in the front comes in handy. Push the pop up for them and then fold the end of the freeze pop up and slide it under the tab. This should keep the ice from sliding back down to the bottom of the package. Cool, huh?
 I also made myself a new tunic top. I used New Look pattern 6915 and some satin-y fabric that I got at Wal-Mart. I really like the result! It was quick and easy too! Total cost of this new top:
Pattern: $3.44
Fabric (2yds): $5.94
Thread: Already in stock
Bias Tape: Made my own out of black fabric that I already had
Total: $9.38
Less than $10 for a new shirt! Can't beat that!!!!
 I also made a new summer dress for Ryleigh. This one was made from McCall's pattern M5797
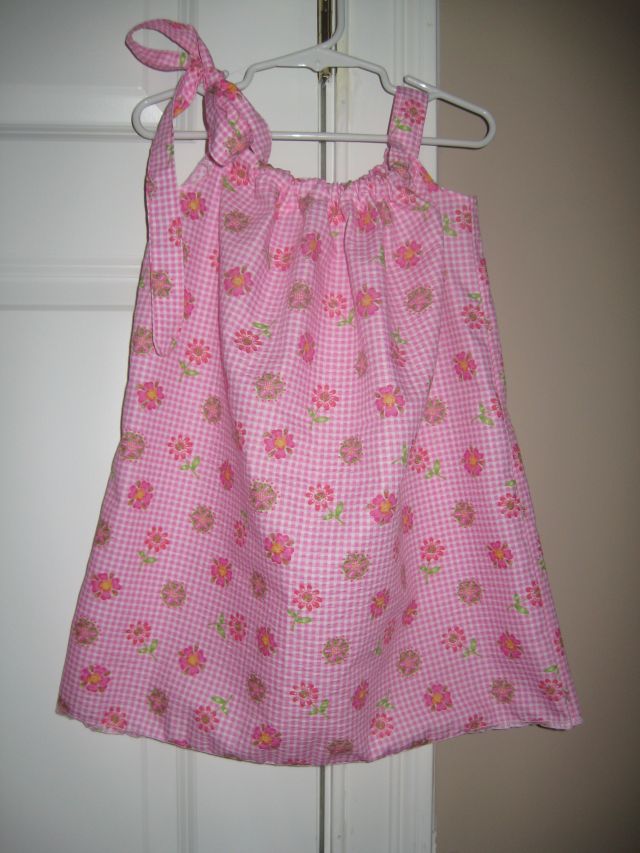
I made her a size 5, but it ended up being a bit too big. So, I had to alter it a little...take up the straps a bit and take it in about 2" on each side. Now its too short. LOL...so, my solution: I'm going to add a band of solid white fabric to the bottom with some hand embroidered flowers on it. It should be pretty cute! Stay tuned for pics of the finished product! Guess how much I paid for this one?
Pattern: $.99
Fabric: This fabric has been in my stash for over 2 years. And I know I got it at the end of the season on clearance. The white fabric I'll be adding to the bottom I also already had in my stash.
Thread: Also already in my stash.
Embroidery Thread: Already in my stash
Total: $.99
I'm also still in the process of re-doing the Chloe Cap. I think I definitely figured out my issue because this one isn't nearly as big. I'm about half-way done. Here it is:
I'm also still in the process of re-doing the Chloe Cap. I think I definitely figured out my issue because this one isn't nearly as big. I'm about half-way done. Here it is:
 Okay now....mom, stop reading this post....
I know you're still reading...
I also created this Mother's Day card. I love it! It's even prettier in person, too. I had I hard time capturing the colors in the photo. I made this card using the 'Life Delights' paper kit from Close to My Heart and also used a few techniques that I found on Jeanette Lynton's blog. Jeanette Lynton is the founder of CTMH. If you're a scrapbooker and you don't have her blog on your reading list...DO IT! I got the idea for both the ruffles and the roses from her blog. And, yes...those are paper roses that I made myself.

That's it! :) My crafting goals for this week:
1. Finish making Mother's Day cards
2. Finish Ryleigh's Dress
3. Finish the Chloe Cap


No comments:
Post a Comment